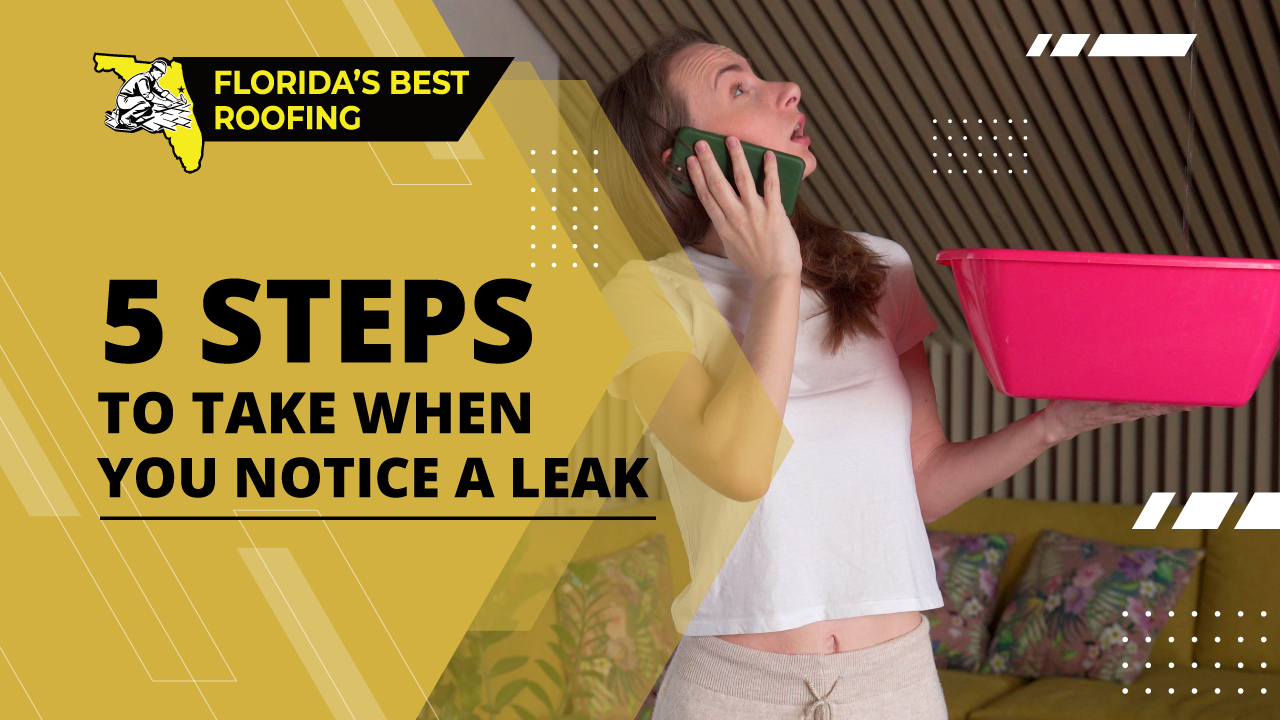
Suddenly finding a leak on the ceiling of your home can be a very stressful experience. You may immediately start imagining the stress of dealing with contractors, the costs of repairs, the disruption to daily life of having repairs done on your roof or in your home, and visions of mold and other complications if the repair is not done in time. Not to worry. We are here to offer an easy step-by-step guide to dealing with a leak that can take all the stress out of the process. We have thought of everything so that you do not have to.
Step 1: Finding the Source
The first step after finding a leak is to identify its source. The source will determine what immediate actions you need to take next and who you will need to call for repairs. You might think that finding the source involves climbing on the roof or into the attic, but this is unnecessary and potentially dangerous. Instead, simply consider what a leak is. A leak is water getting into a place it should not be entering. There are two water sources: weather on the exterior and plumbing. If it is a plumbing issue, then it will leak regardless of weather. If it is a roofing issue, it will leak only when it is raining.
Step 2: Documentation
No matter what the source of the leak is, it is important to document it for insurance and liability purposes. You should take photos of the leak and the room it is in when you first discover it. You should continue to take photos throughout the process whether it gets worse or not, including once repairs begin and after the repairs are finished. While you may not need these photos, it is very important to have them in case you do. You should know that if you decide to contact your property insurance company and file a claim (in the case that the leak is caused by damage covered by insurance, like a windstorm) they will expect you to have taken steps to mitigate the leak even before they arrive.
Step 3: Hiring a Contractor
The next step is to hire a contractor. As we have mentioned in previous posts, it is best to contact a local, experienced, licensed and insured contractor. A simple internet search will pull up a number of local contractors whom you can sort by their ratings and reviews of previous customers. A roofing contractor will come out to identify the source of the leak and provide an estimate, usually the day after you call them (if the first available appointment is more than a day or two out you may, having an active leak, consider a different contractor). Once the representative arrives and inspects the problem, he will provide you with an estimate. It is important that you ask this person to identify the specific cause of the leak if they do not immediately do so. The reason for this is that some causes will be covered by property insurance while others will not. The contractor’s representative will be able to tell you, typically, if the source of your leak is covered by insurance. If they cannot, you can call your insurance agent and name the source of the leak. If it is covered by insurance, you should file a claim with your insurance company at this point. Even if the repair estimate is under your deductible, you should still file the claim since the deductible only applies once during a policy period. If it applies now and you have another issue within the policy period, you will be fully covered for repairs then.
Step 4: Repairs
Once you have hired a contractor and agreed on a price, it is time to schedule the repairs. In the case of an active leak, you will usually be scheduled within a week. If the leak is particularly bad, your roofer will typically tarp it or take some other mitigating measures the same day that you agree to their estimate. If you did file an insurance claim, make sure that the repair is scheduled after an adjuster has had a chance to come out and take a look at the damage. If this is not possible, it is imperative that your contractor takes photos before, during, and after the repair so that you can provide your insurance company with the documentation. They will not pay for damages if they do not see evidence of them themselves.
Step 5: Clean-up and Payment
Once the source of your leak is repaired, you will want to hire a drywaller/painter/handyman who can fix the damages caused by the leak on the interior and have your ceiling looking like new again. A good roofing contractor will be able to refer you to a quality company who does interior work for a reasonable price. Once payment is made you’re all set!
Florida’s Best Roofing, Inc. is a fully licensed (CCC 1325974) and insured, local roofing contractor with decades of experience. If you are interested in roof replacement or repair and you are in the Palm Coast, Flagler, or Volusia area, please give us a call at 386-263-7906 for a free estimate!